Retro Game and Emulator Game Tutorials and Guides
Explore the exciting world of retro games, learn emulator game skills and strategies for NES games and SNES games.
How to Modify the Emulator's Button Settings?
When playing retro games, having comfortable button settings is very important. EmulatorJS provides a convenient way for you to customize the button mapping of your keyboard or gamepad. This tutorial will teach you step by step how to modify the button settings.
Step 1: Find the Settings Entry
In the row of control buttons below the game running interface, find the icon that looks like a gamepad, which is the entry to the control settings.
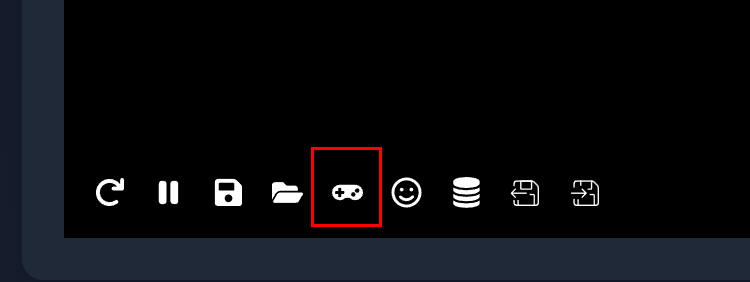
Click this icon to pop up the control settings interface.
Step 2: Enter the Control Settings Interface
After clicking the gamepad icon, you will see the control settings interface as shown below.
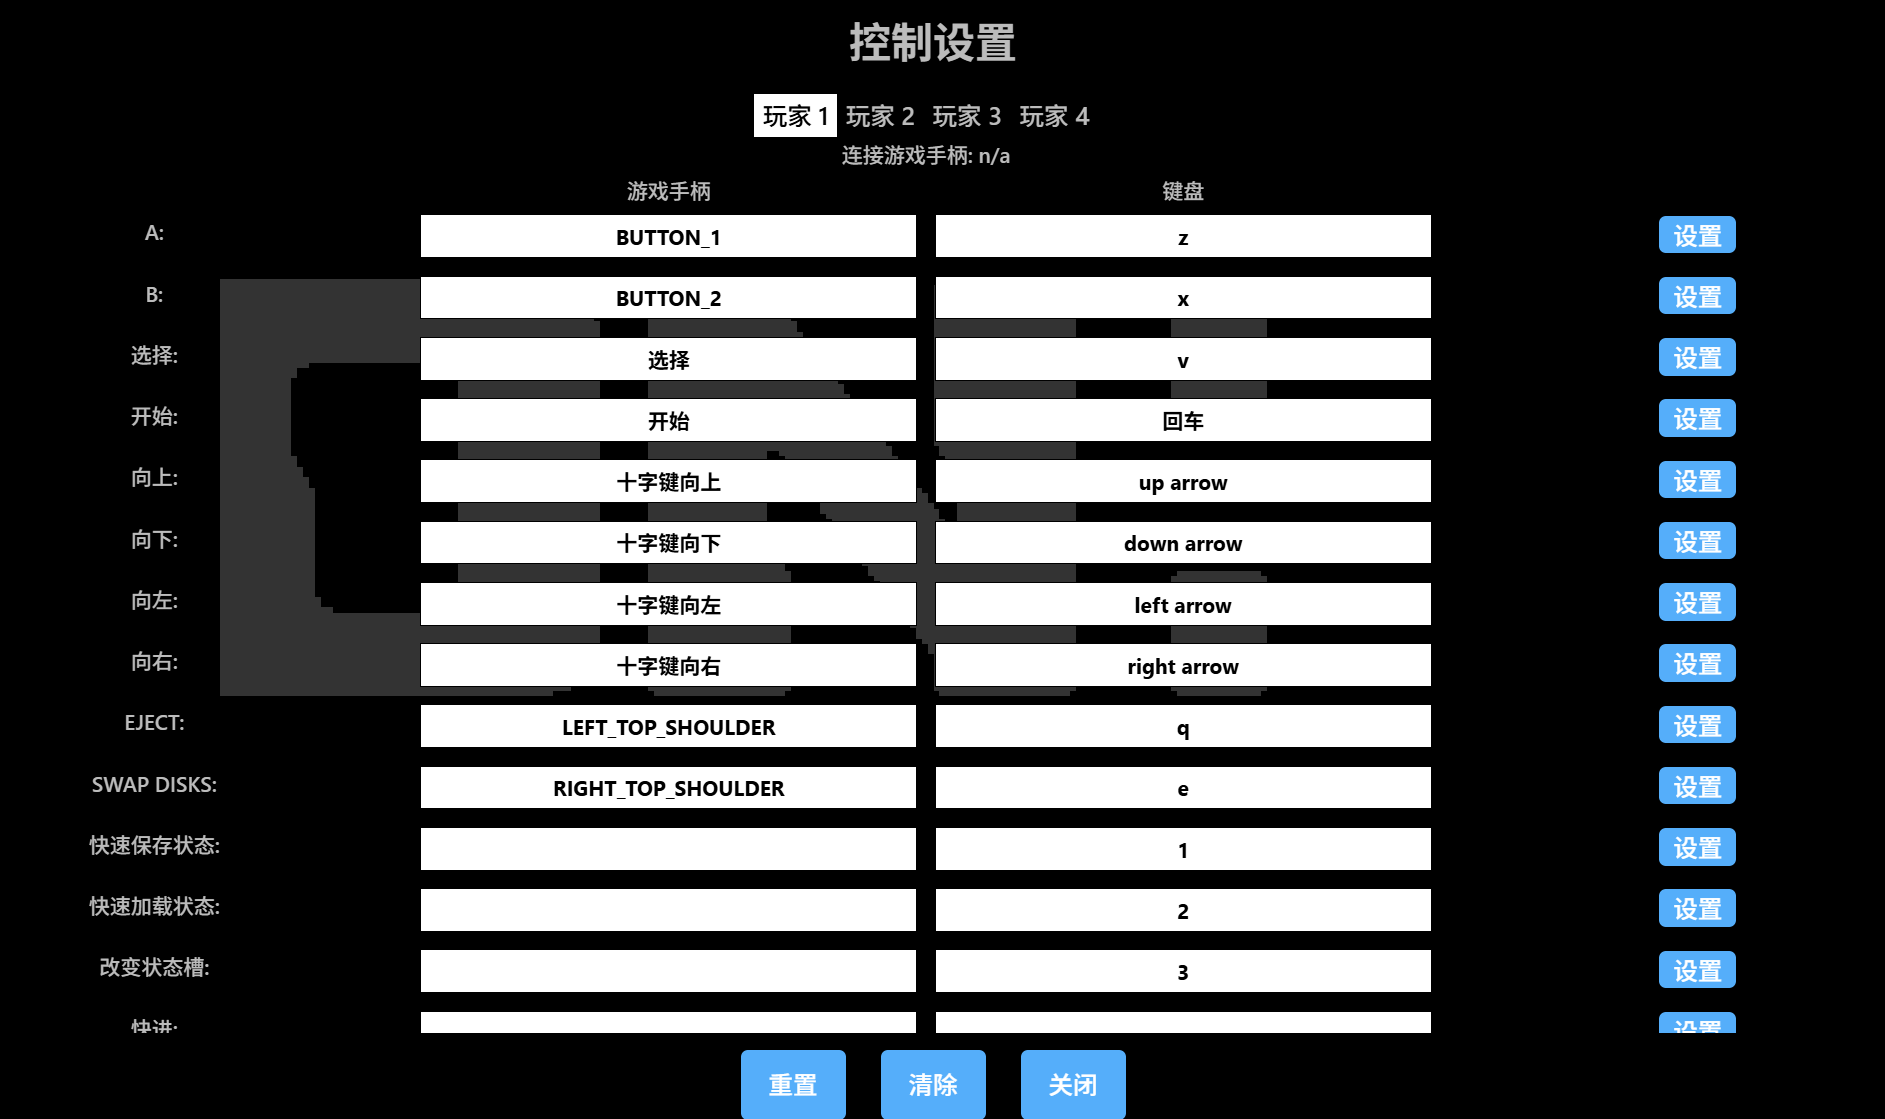
This interface lists all the operations that can be mapped in the game, as well as the gamepad buttons (if connected) and keyboard keys corresponding to each operation.
Step 3: Modify Buttons
In this interface, you can set buttons for players 1 to 4 respectively.
- Select Player: First select the player you want to modify the settings for in the "Player 1", "Player 2" and other tabs at the top.
- Find the Operation to Modify: Browse the list and find the game operation you want to modify, such as "A" button, "B" button, "Up" direction, etc.
- Click "Set": On the far right of the row of the operation you want to modify, click the blue [Set] button.
- Press New Key: After clicking [Set], the button will change to a waiting input state. At this time, press the new key you want to map to this operation on your keyboard. The settings will be saved automatically. If you want to use the gamepad button, press the corresponding button on the gamepad.
Example: Suppose you want to change the "A" button in the game from the "z" key on the keyboard to the "j" key.
- Find the "A:" line.
- Click the [Set] button on the far right.
- Press the "j" key on the keyboard.
- Finish! Now the "A" button in the game corresponds to the "j" key on the keyboard.
Other options
- Reset: If you want to restore the default button settings, you can click the [Reset] button at the bottom of the interface.
- Clear: Clear all keyboard button settings for the current player.
- Close: After completing the modification, click the [Close] button to exit the settings interface.
Now you have learned how to modify the button settings of EmulatorJS. Go and adjust it according to your habits and enjoy a smoother gaming experience!